The "Check Engine" light comes on when there is a problem with engine or emission control system. In this case, you need to use a scanner to scan DTC to determine cause of problem. After you fix issues, you can reset them. This article will show you how to reset your car's check engine light.
First, use a scanner
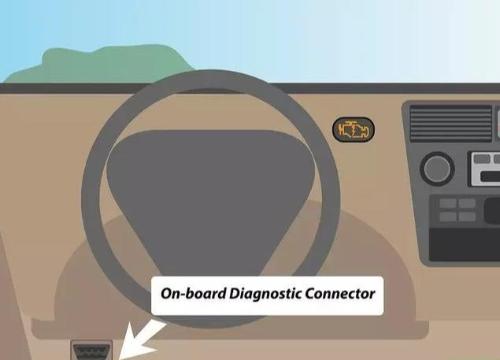
1. Connect scanner to OBD connector under steering wheel. Turn on ignition. Turn off all accessories.
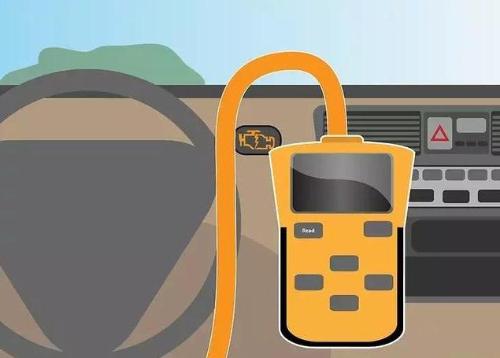
2. Press "Analyze" button on scanner to analyze engine trouble codes. Just in case, write down fault codes so that they can be checked and serviced in future.
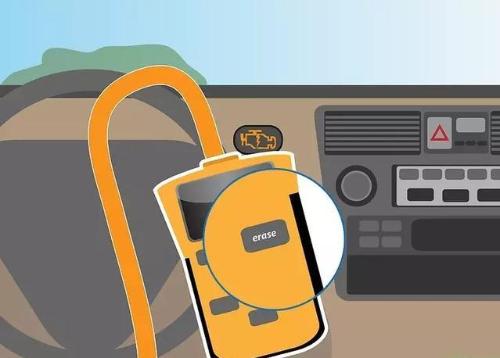
3. Press "Clear" button on scanner to clear trouble code. This step disables fault indicator. Some scanners have a fault latching feature that records data collected by sensor and when fault code is cleared data file disappears.
2. Clear trouble codes (traditional method)
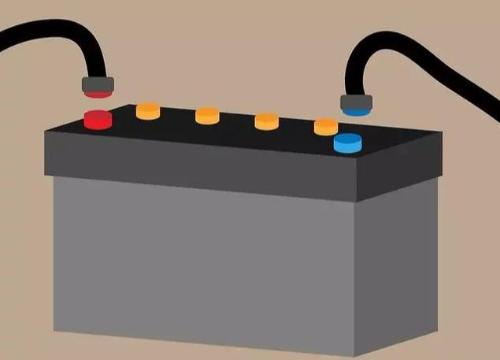
1. Disconnect battery and disconnect positive and negative cables. If necessary, disconnect cable with a wrench.

2. Keep pressing beep for 30 seconds to use up remaining energy in capacitor.
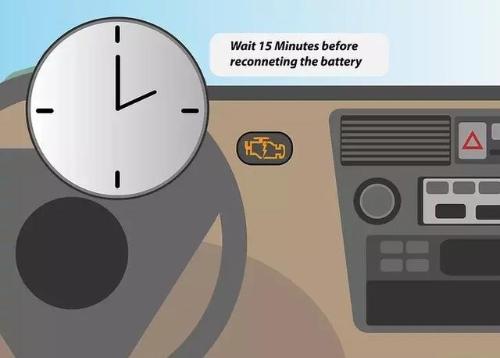
3. Wait 15 minutes and then reconnect battery. When fault code is cleared, fault indicator will turn off. This method may not be useful for some on-board computer systems. If fault indicator stays on after disconnecting battery, vehicle is seriously damaged and needs to be repaired.
Warning
You need to prepare